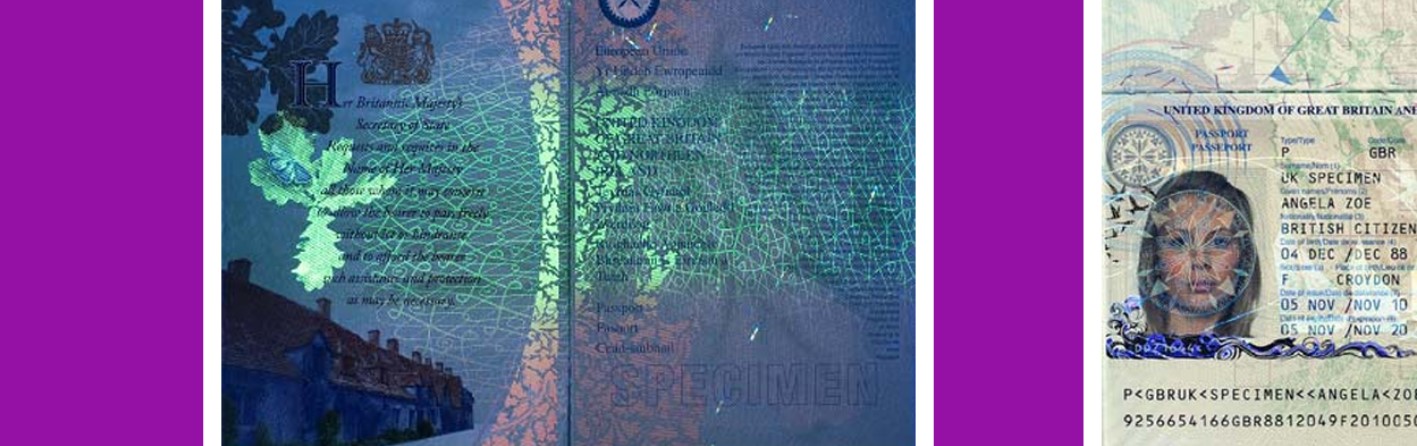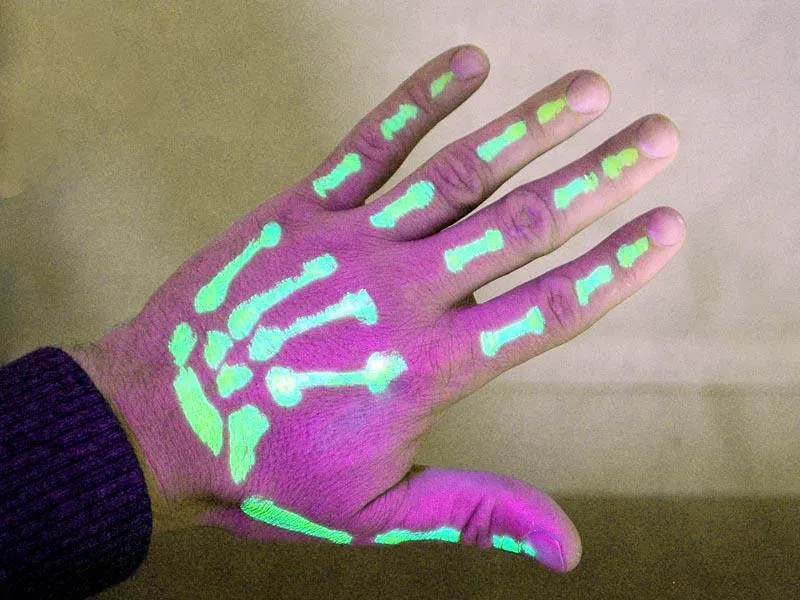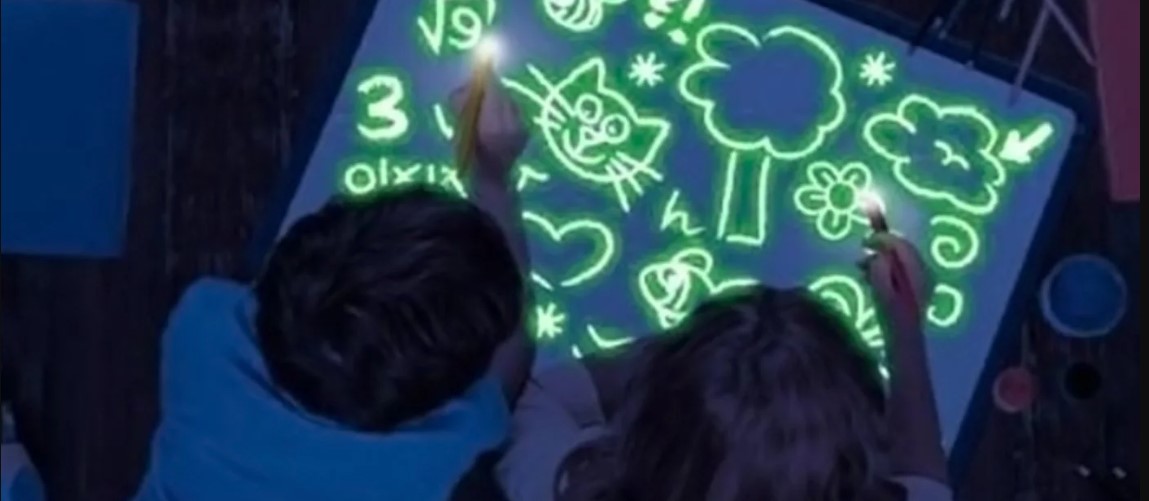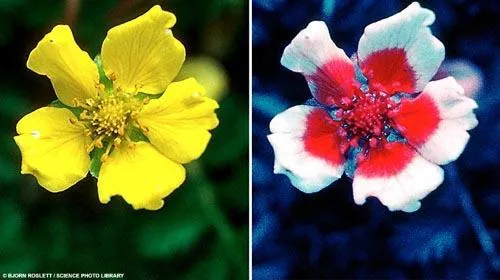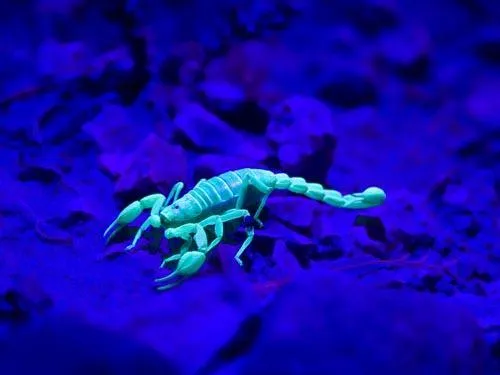









Congratulations on receiving one of our torch kits! It's super simple, but you've actually got two kits in one! You can make your kit as a normal visible white torch, or instead turn it into one that uses a special type of light called ultraviolet (UV) light, which can show secret invisible marks in the world around you!
We suggest you make this when you get home. You'll need a dark environment to see the magical effects of UV light, so you'll want to wait until night, or go into a dark room and draw the curtains!
If you like technology and making things, you might also like to check out our holiday Tech Camps, where campers aged 9–17 build 3D printers, racing drones, RC cars and much more.
Light is amazing!
Light is all around us but we sometimes take it for granted. What we think of as light is really only part of a wide band of 'stuff' known as the electromagnetic spectrum. This spectrum is made up of x-rays and gamma rays at one end, and radio waves at the other. Between these is a thin band that makes up what we can see, from violet at one end through to red at the other.
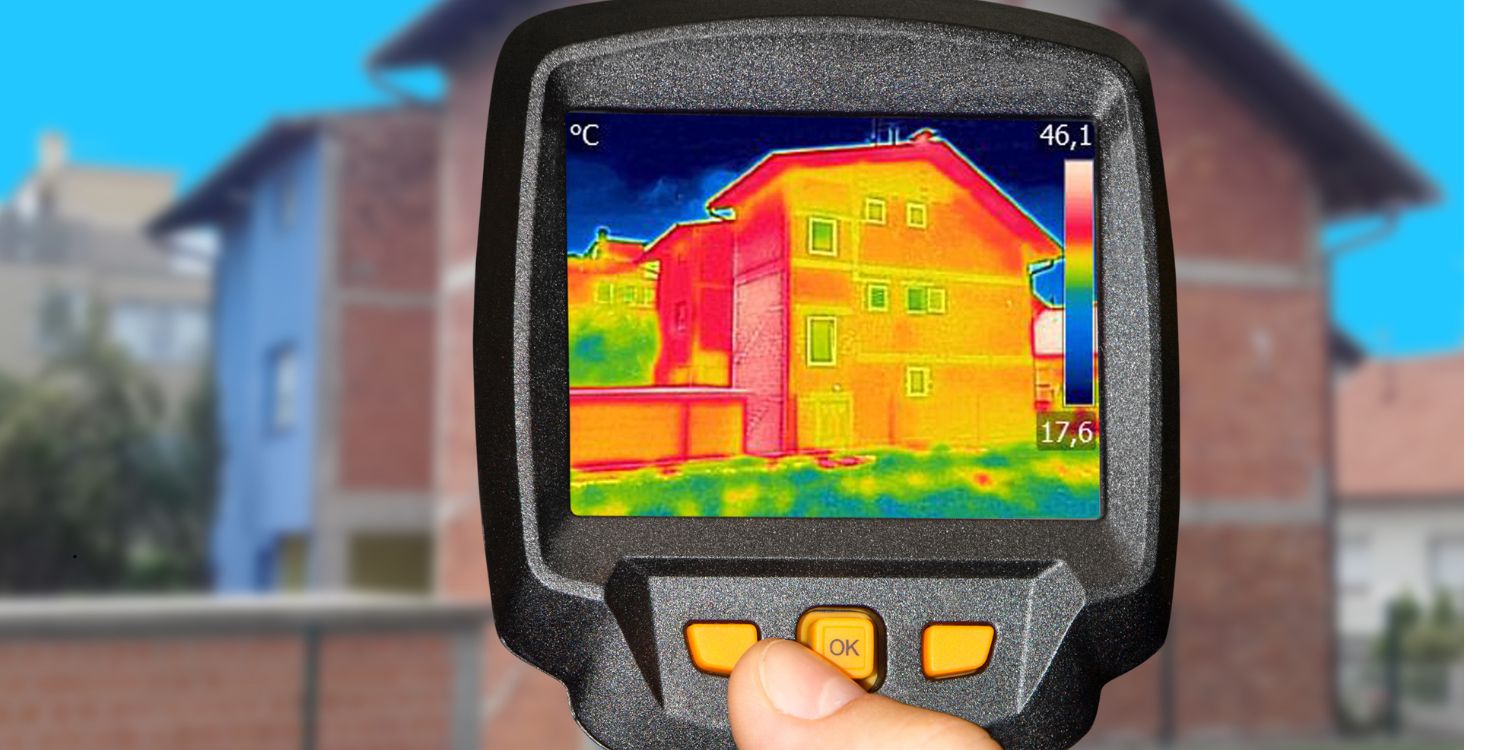
Just past red in the spectrum is infrared. Common TV remote controls use this form of light to communicate with the TV. Although our eyes can't see it, by looking at the end of the remote control through a mobile phone camera or webcam you can make it visible; these cameras are sensitive to wavelengths (colours) of light that our eyes can't see. As you get further away from the colour red, you reach 'far infrared', which all objects emit. These rays can be detected with special thermal imaging cameras that police can use to see criminals in the dark, and scientists can use to look at the heat escaping from houses and other objects.
At the other end of the spectrum is ultraviolet. The torch you will be building produces 'near ultraviolet' light, or 'UVA', which is very close to the colour violet (or purple) so is still just visible to our eyes. This sort of ultraviolet light is not dangerous, unlike the shorter-wavelength 'UVB' and 'UVC' light which can cause sunburn and skin cancer. It is however just far enough away from the normal visible light we see to show some interesting effects.
Build your torch
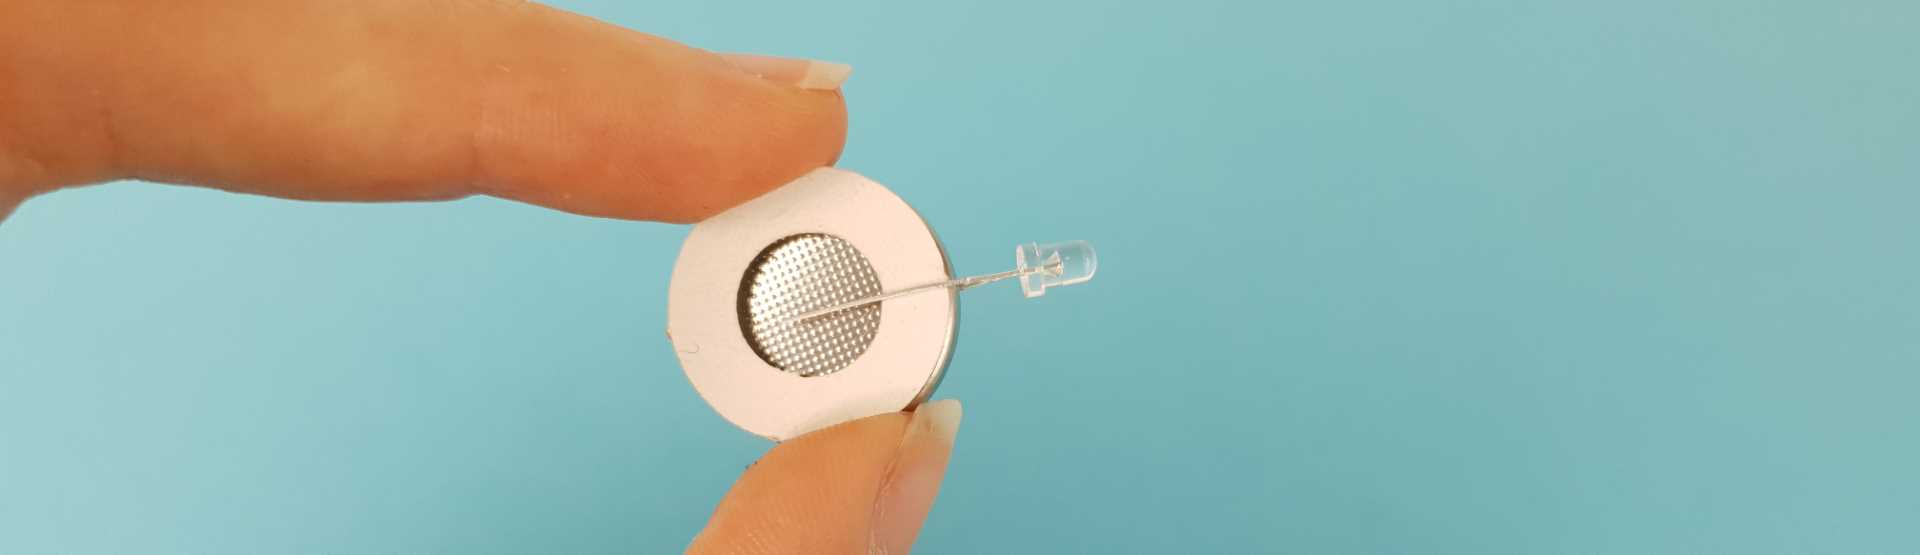
First of all, let's see if we can get the two LEDs (lights) that are in your kit working! Take one of the LEDs and place the coin cell (battery) between the two legs as shown. It will only work one way around. If it doesn't work first time, try turning the battery upside down and inserting it between the legs again! You should find that the longer leg of the LED has to be touching the positive side of the battery (the side marked with a '+').
If you're in luck you should see it glowing white or purple! Our one below is glowing white and we're looking for the purple one, so we'll put the white one aside for now and use the purple one instead. Our pictures show the white one because it shows more clearly in a photo, but make sure you're using the purple one!

Now we're going to get the small paper ring and insert it under the top (shorter) leg as shown.
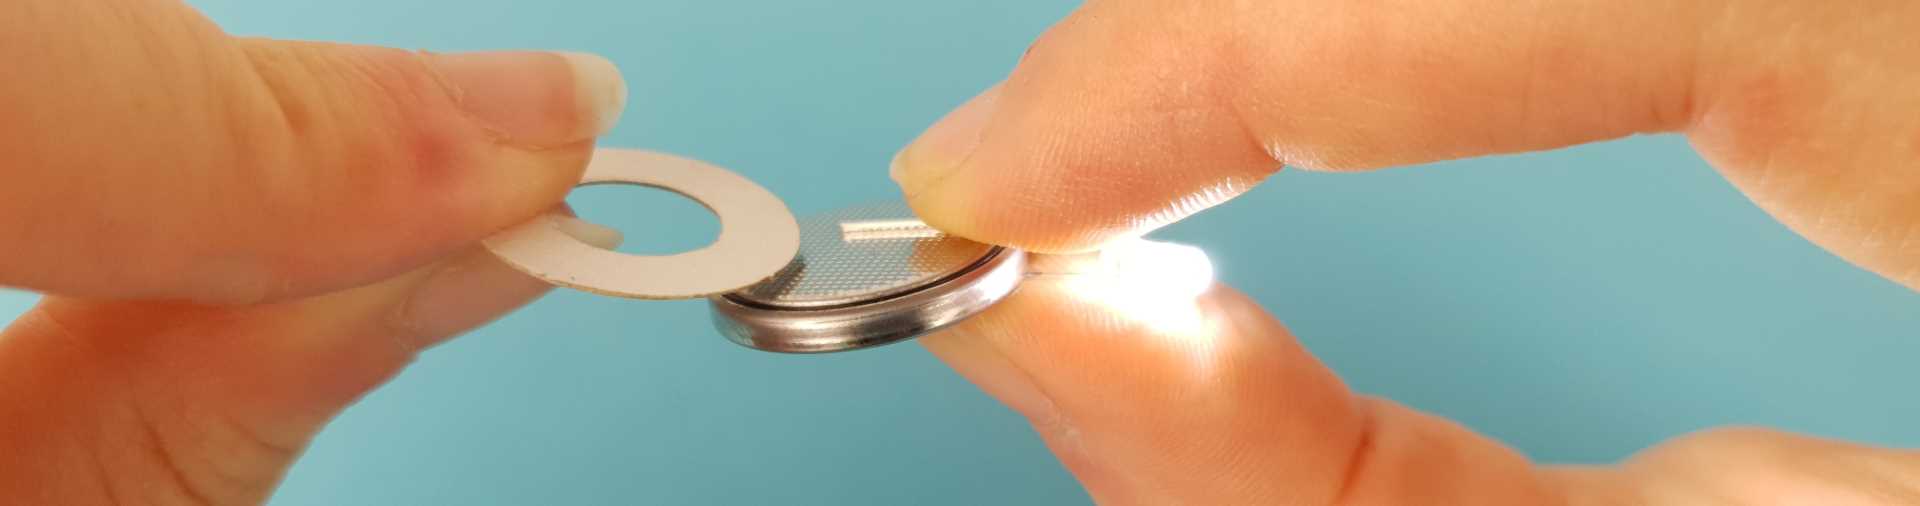
When you push the ring all the way under the top leg, the LED should no longer be lit. If you squeeze the centre of the ring where the legs are, you should be able to make the LED light again whilst you are squeezing. This is intentional: we've made a simple switch!
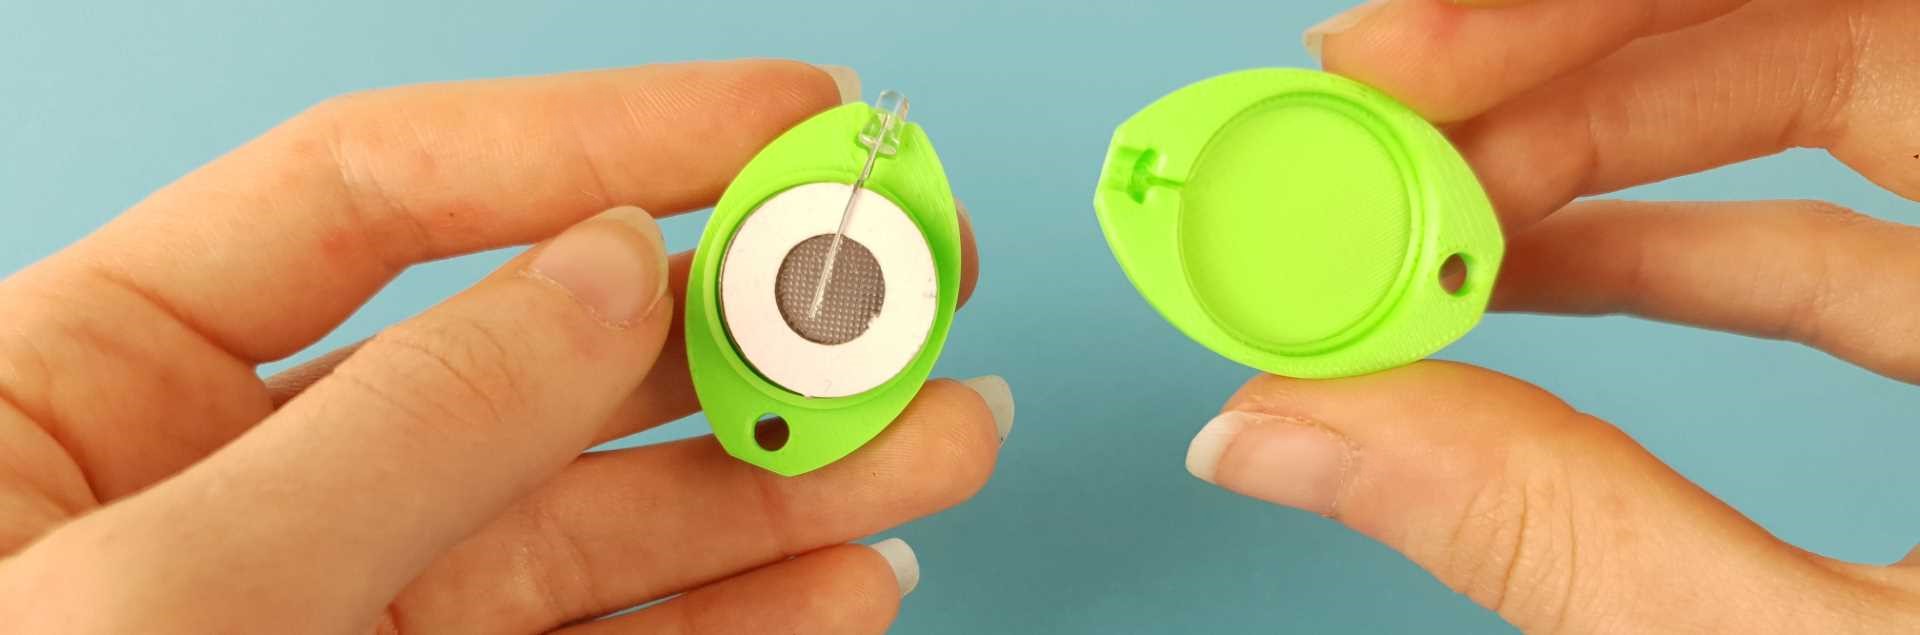
Now find the plastic piece with the raised circular rim. Yours might be a different colour, but it should look like the one below.
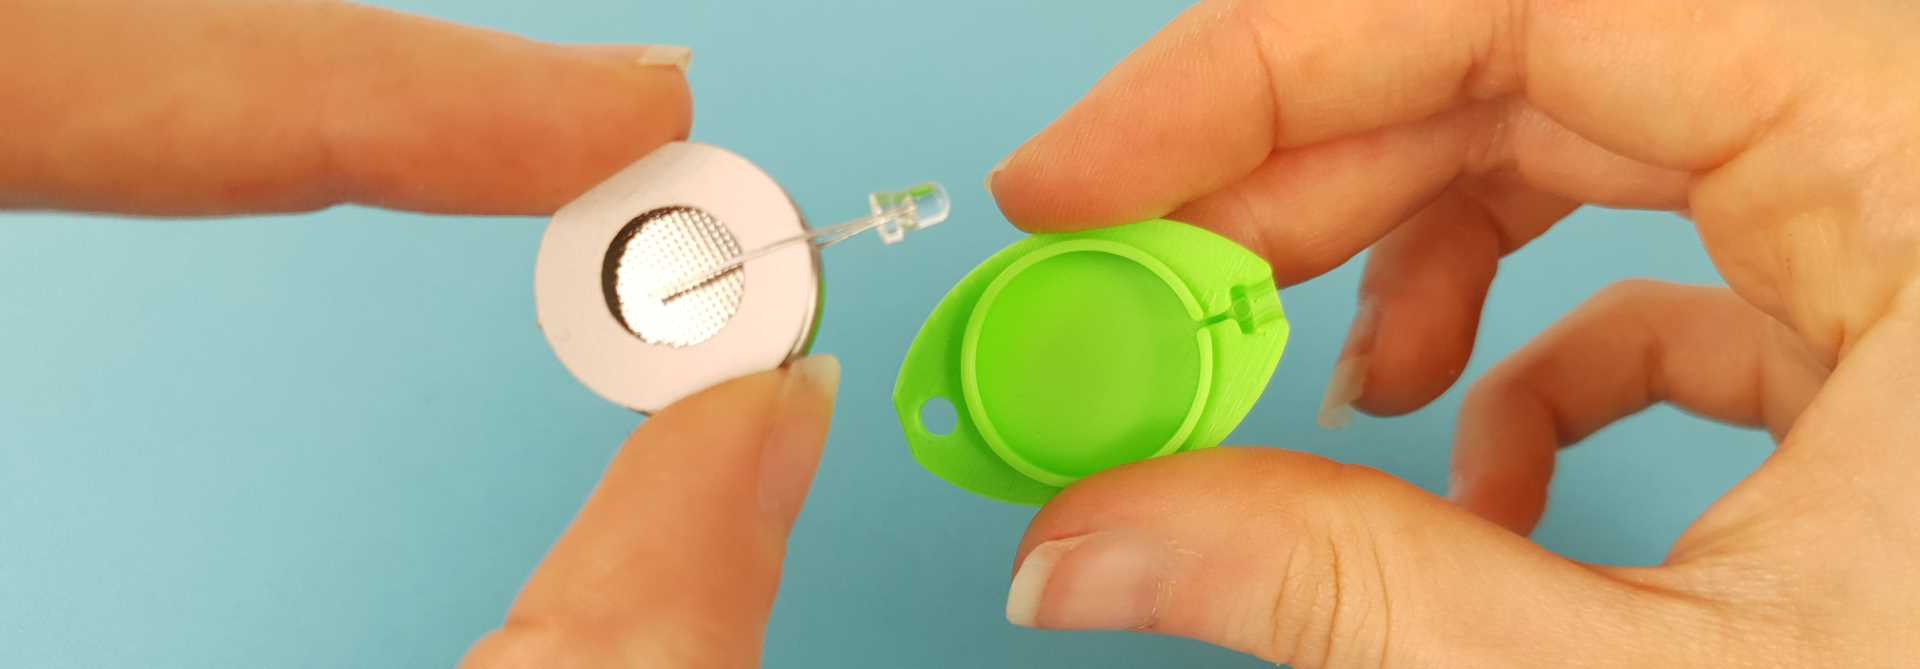
Fun fact: these plastic pieces are actually 3D printed, using the 3D printer that our campers make in the 3D Print Studio course. It's one of our most popular courses because campers get to take their printers home, so they can design and make things like this torch themselves! We use the same 3D printers to make parts for many of our kits and courses, including the Drone Racing and Tech Creator courses. 3D printing is a great technique to make anything from toys and tools to ideas for products that you can design, print and even sell yourself!
Carefully insert the assembly you have made into this plastic piece as shown. This is the most fiddly step! The coin cell has to fit in the space in the middle and the LED should fit in the space at the end of the torch. You might need to squeeze the legs of the LED down flat to get them to fit nicely.
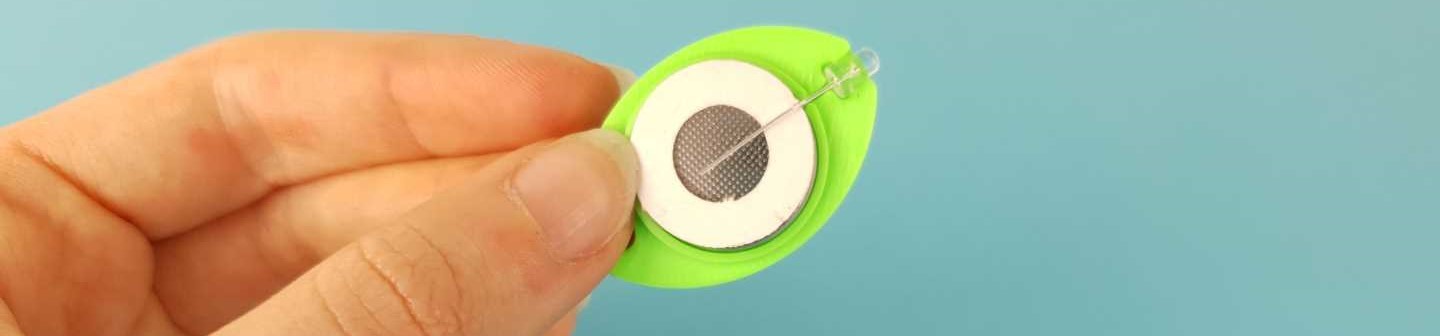
We're about to complete the assembly, but do another test by squeezing the legs. Your torch should light up!
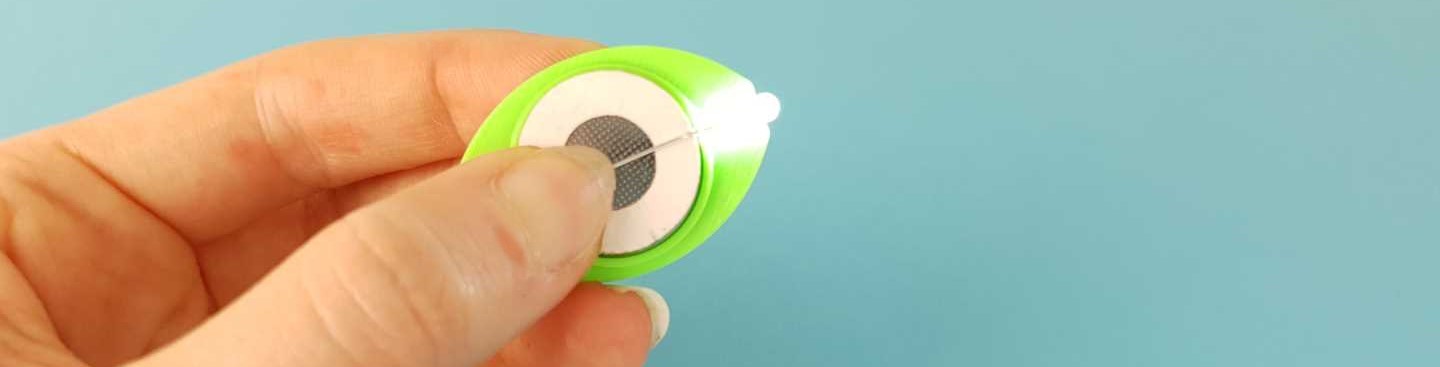
Now find the matching second plastic piece. Look at it carefully: it should have a recess for the LED on one end and a hole on the other. You'll need to make sure these match up with the other piece when you connect them in a minute…
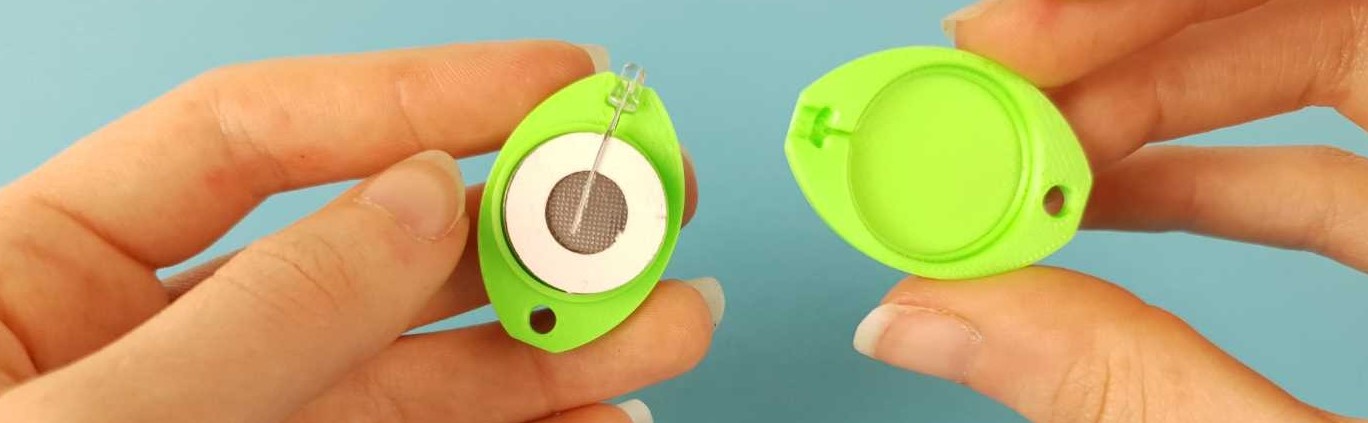
Make sure they're completely aligned, and then squeeze them together as shown below. Ours isn't completely closed yet, as there is still a gap showing between the two halves…
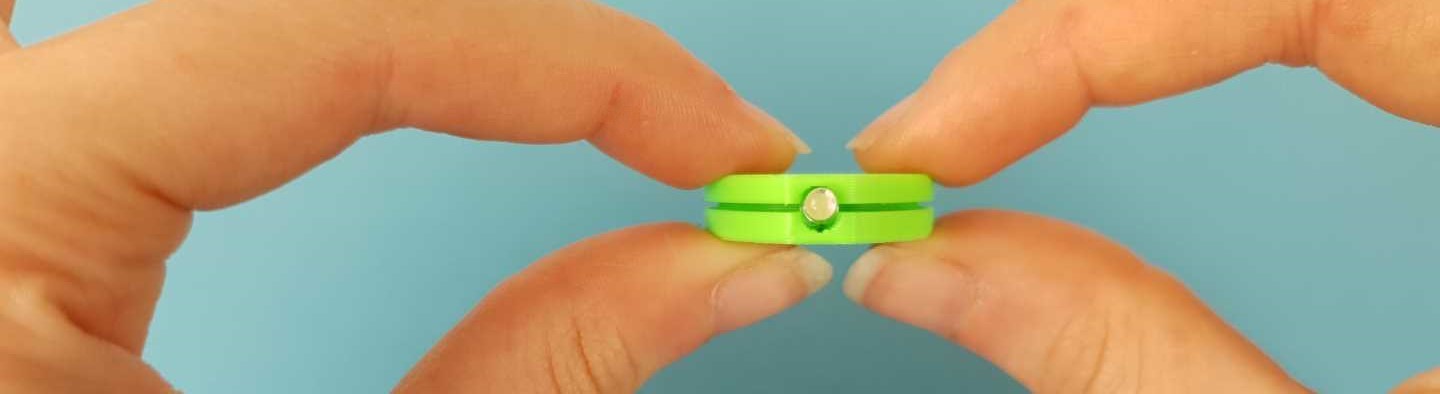
Once you've squeezed it fully closed, you're ready for some fun experiments with UV light…
Remember, you'll need a dark environment to see the magical effects of UV light, so you'll want to wait until night, or go into a dark room and draw the curtains to see some of the effects described below.